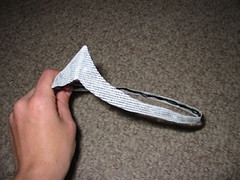
 I started by twisting wire to create a frame for the overall shape of the piece, fitting it to my head as I went along. This essentially looked like a wire circlet with a single point in front. I then glued a piece of buckram around the outside to create a smoother silhouette. A picture of the back gives a better view of what the wire frame looked like.
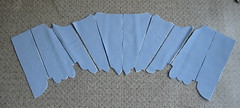
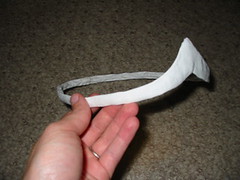 I then covered the buckram and wire frame in a double layer of lightweight white linen. It is secured by simply gluing it down on the inside of the band. Around the skinny portions of the hat, the fabric wrapped around from the front is plenty to cover the inside band; but on the point I've added an extra piece of fabric to completely cover up the wire.
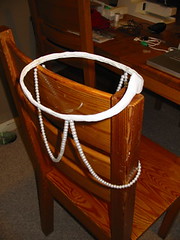 For the dangling strands, I've used glass bead faux pearls; they're strung on the fishing-line-like stuff that they came on. The front strand is a bit longer than the side ones so that it's long enough to hang below my chin. I glued the ends of the strands directly to the inside of the hat, and that's one thing I might do differently. Because the stringing material doesn't absorb glue at all, it had to be held in place carefully for quite a long time to get it to set.
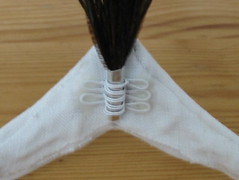 The feathers for the spray are known as peacock herl. They're sewn into strands and sold as yard goods; I bought just an inch and used less than a quarter of it. (Although specialty feather places do sell them, unless you need a large quantity, they're more easily available from places that sell supplies for making fly fishing lures.) To form the spray, I wrapped and knotted thread around the base of my feathers to form a secure bundle. I then took a small piece of sheet aluminum and used pliers to coil it around the bundle, forming a solid base. Once the base was formed, I wrapped wire around it to mold a holder of exactly the right size, with some extra loops to provide a surface to glue to the hat.
So that's pretty much it - fun with tacky glue and some random craft supplies. This picture is of the state of my Persian clothes shortly after the hat was originally finished.